How to Clean Leather Purses Like a Pro

So, you’ve invested in a beautiful leather purse, but the thought of cleaning it yourself is a little intimidating. I get it. Many people are terrified they’ll ruin their favorite bag, so they just… don’t clean it. The good news is, you absolutely can restore your bag’s glow right at home without causing any damage.
This guide is here to walk you through the entire process, step-by-step. We'll cover everything from the tools you need to the final conditioning touch that makes all the difference. Forget those harsh household cleaners—we’re going to do this the right way.
Why You Can't Afford to Skip a Good Cleaning
Letting your leather purse go without a proper clean-up does more than just make it look a bit sad. Over time, all that accumulated dust, the natural oils from your hands, and those little accidental spills actually start to break down the leather fibers. This is what leads to cracking, fading, and a dull, lifeless finish.
A 2023 study actually found that 57% of leather purse owners don't clean their bags regularly, with most only doing a quick spot clean now and then. This is a huge oversight that leaves so many gorgeous bags at risk of preventable damage. You can read more about these habits and their impact in these leather purse care findings from International Leather Club. Think of regular maintenance not just as cleaning, but as an investment in an accessory you truly love.
If you remember only one thing, let it be this: always test your cleaning solution on a hidden spot first. The inside of a pocket or a small corner on the bottom of the bag works perfectly. This tiny step can save you from a major disaster.
Gathering Your Essential Toolkit
Before you even think about touching your bag, let's get your supplies in order. Having everything ready to go makes the process so much smoother and keeps you from grabbing something in a pinch that could damage the leather. A little prep ensures your elegant leather handbag remains the perfect accessory for years to come.
Your Leather Purse Cleaning Toolkit
Gather these essential items before you begin the cleaning process to ensure a safe and effective result.
| Item | What It's For | Expert Tip |
|---|---|---|
| Microfiber Cloths | You'll need at least two—one for cleaning with the solution and a separate dry one for buffing and conditioning. | Avoid paper towels or rough cloths, which can leave lint or scratch the surface. Microfiber is gentle and effective. |
| Gentle Leather Cleaner | This is for lifting dirt and grime without stripping the leather's natural oils. | Look for a pH-balanced formula specifically made for leather. Never use dish soap, window cleaner, or all-purpose sprays. |
| Leather Conditioner | Restoring moisture after cleaning is non-negotiable. It keeps the leather soft, supple, and protected. | A little goes a long way. Choose a cream- or lotion-based conditioner for easy, even application. |
| Small Bowl | For mixing a diluted cleaning solution if your cleaner requires it. | A simple ceramic or glass bowl works perfectly. Just make sure it's clean before you start. |
| Cotton Swabs | These are your secret weapon for getting into tight spots like seams, hardware edges, and detailed stitching. | They're perfect for spot-treating tiny stains or cleaning around delicate logos and zippers. |
Once you have these items laid out, you're ready to start the cleaning process with confidence. Having the right tools is half the battle won.
Preparing Your Purse for a Deep Clean
 Before a single drop of cleaner touches your bag, there’s some crucial prep work to do. Honestly, this is the step that separates a decent cleaning from a truly fantastic one. Think of it as getting your canvas ready before you start painting—it makes all the difference.
First things first: completely empty your purse. And I mean everything. Check every last pocket, zipper pouch, and hidden corner. It's amazing what we find lurking in there—old receipts, rogue bobby pins, and that one lipstick you thought you lost forever can all get in the way.
Once you're sure it's empty, flip the bag upside down over a trash can and give it a few good, firm shakes. You're trying to dislodge all those stubborn crumbs, dust bunnies, and mystery bits that have made a home in the bottom of your bag.
Focus on the Interior First
Now, let's get that lining sorted. If you’re lucky enough to have a purse with a pull-out lining, this part is a breeze. Just pull it outward as far as it will go.
- For fabric linings: A simple lint roller is your absolute best friend. Roll it over the entire surface, and you’ll be shocked at how much lint, hair, and dust it picks up.
- For attached linings: No problem. Just grab your vacuum cleaner and use the small brush attachment. Gently vacuum the entire interior, getting into the seams and corners to suck up anything that the initial shake-out left behind.
Don't be tempted to skip this. Getting rid of all the dry debris now prevents it from turning into a gunky, muddy mess the moment you introduce any cleaning solutions.
Key Takeaway: Always, always clean the inside lining first. It’s a non-negotiable step that ensures dirt from the inside doesn't get mixed with your cleaner and create new stains on the beautiful leather exterior.
Prepping the Exterior Surface
With the inside taken care of, it's time to turn our attention to the leather itself. You’ll need a clean, dry microfiber cloth for this—the softer, the better.
Gently wipe down the entire outside of the bag. Use soft, sweeping motions to lift that initial layer of dust and surface grime. Pay special attention to high-traffic areas like the handles, the bottom corners, and around any hardware where dirt loves to build up.
This quick wipe-down clears the way, allowing your leather cleaner to get straight to work on the tougher oils and spots instead of just smearing surface dust around. Now, your bag is properly prepped and ready for the real cleaning to begin.
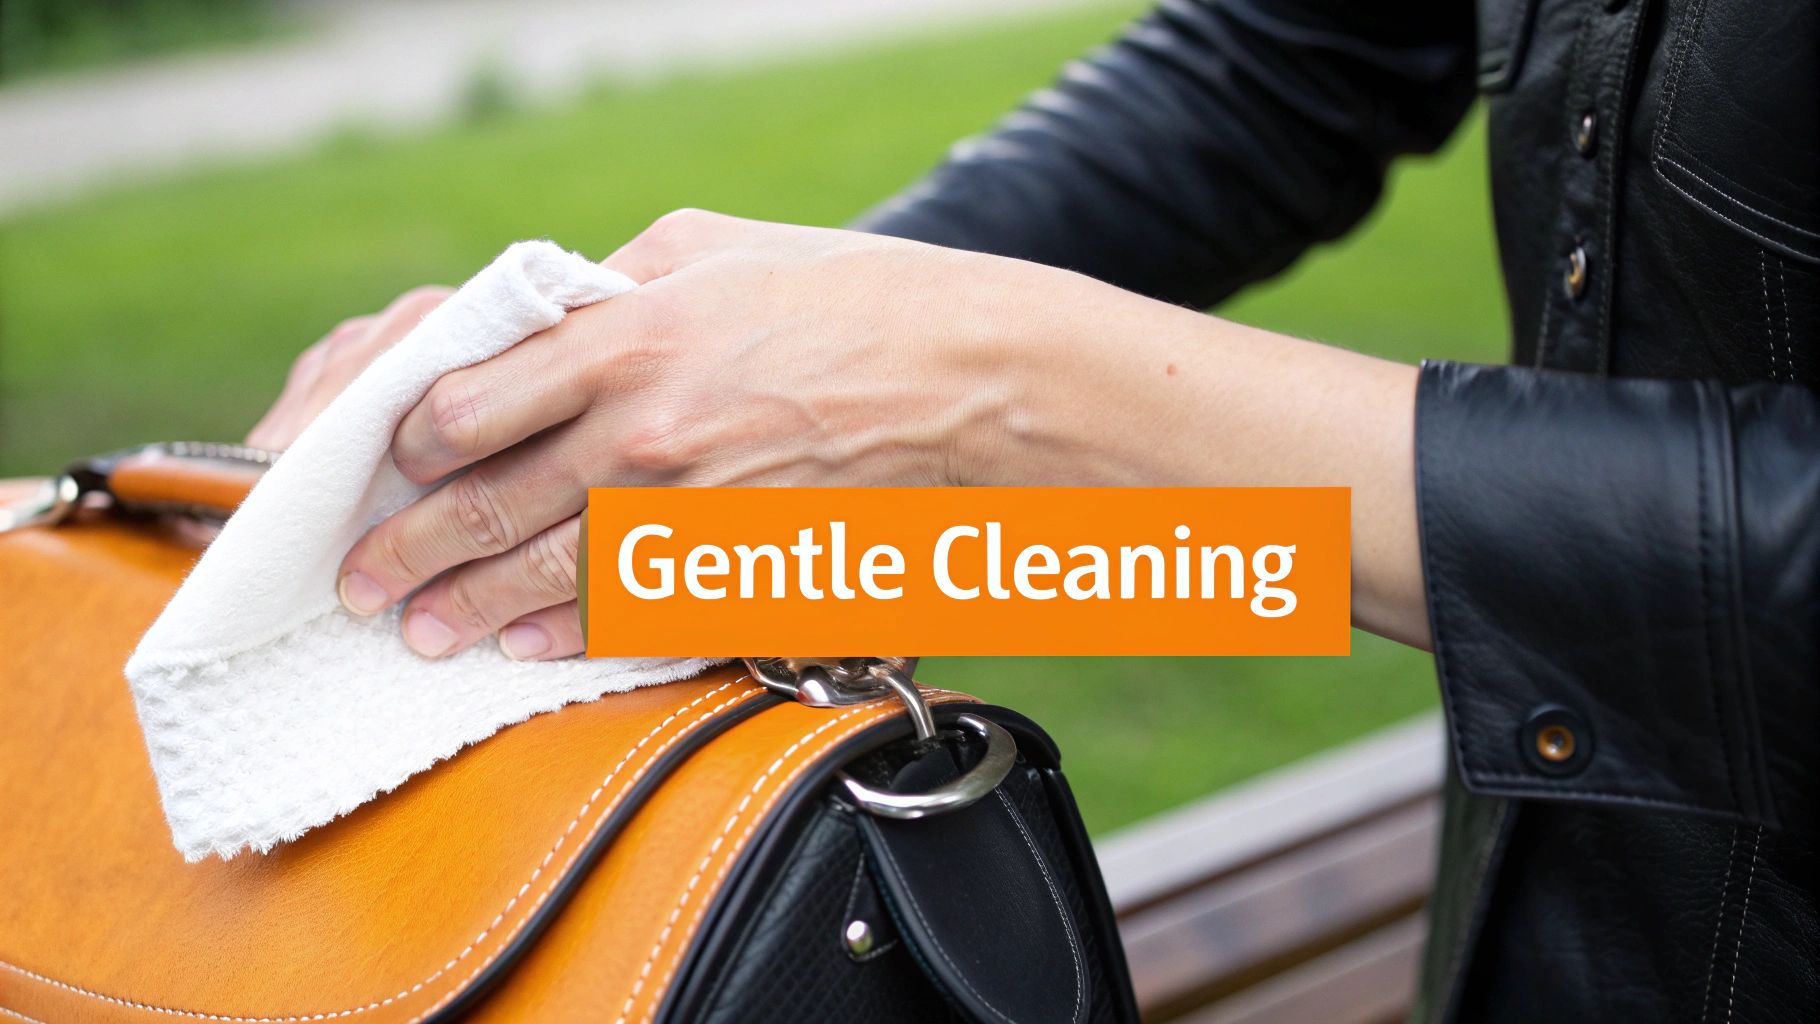
A Gentle Approach to Hand-Cleaning Leather
Alright, with your purse all prepped, it's time for the main event. Let's dive into the gentle hand-cleaning method that the pros use to lift away grime without damaging the leather’s delicate surface. Forget aggressive scrubbing—that’s the enemy here. Think of this more like a gentle massage for your bag, not a deep-clean blitz.
The secret weapon isn’t some harsh chemical; it’s a simple, mild cleaning solution you can mix yourself. All you need are a few drops of a pH-neutral soap (like a gentle, dye-free detergent or a specialized leather cleaner) stirred into a bowl of distilled water. Why distilled? Tap water often contains minerals that can leave behind spots or residue, so playing it safe with distilled water is always the best move.
This helpful image breaks down the simple, foundational steps to get you started on the right path.
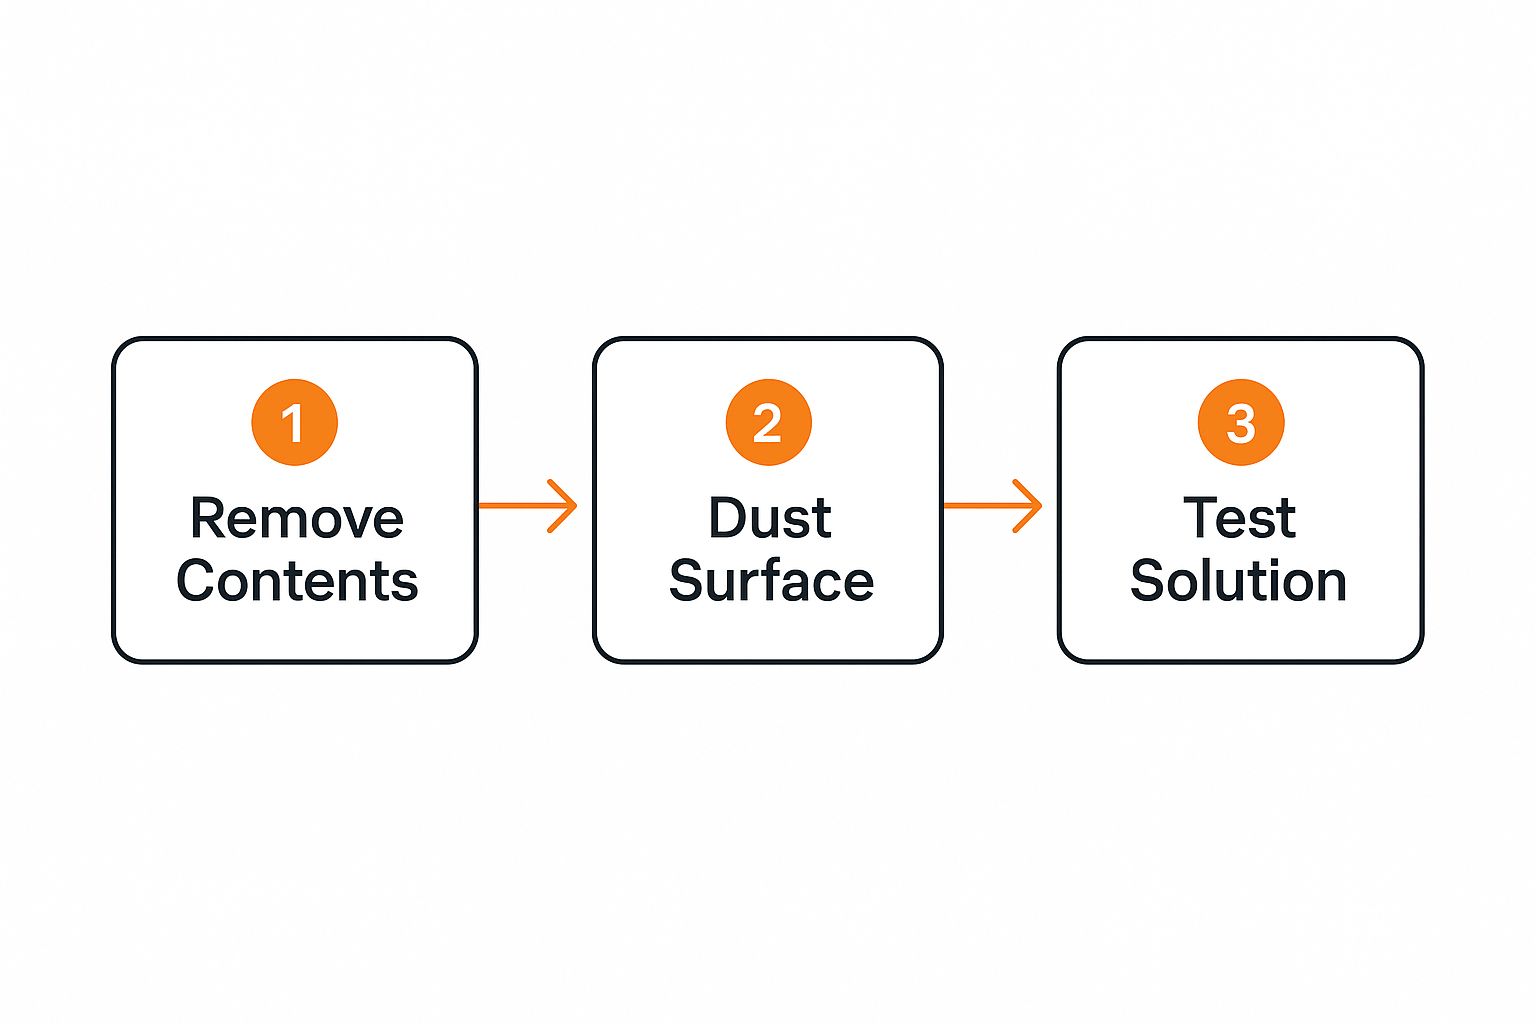
As you can see, a successful cleaning starts long before you ever wipe the bag. It’s all in the prep work.
The Art of the Damp Cloth
Now, take a clean microfiber cloth and dip it into your soapy water. Wring it out until it's just damp, not wet. This is probably the single most important part of the entire process. A soaking wet cloth can easily lead to water stains and saturate the leather, causing it to warp as it dries.
A damp cloth cleans the surface without oversaturating the leather's pores. Your goal is to lift dirt off the top layer, not to soak it through. If you squeeze the cloth and water drips out, it's still too wet.
Start wiping the purse from the top down, using light, circular motions. I like to work in small sections because it prevents the cleaning solution from drying on the surface before I have a chance to wipe it away. Following this top-to-bottom pattern also ensures that any potential drips fall onto an area you haven't cleaned yet, which helps prevent streaks.
After cleaning a section, immediately grab a separate, dry microfiber cloth and gently buff away any leftover moisture and soap residue. This two-step dance—damp wipe, then dry wipe—is absolutely crucial for a flawless, even finish.
Tackling Stubborn Stains
But what happens when you run into a more stubborn spot? Don't panic and reach for a harsh cleaner. Different kinds of stains call for different, gentle approaches.
- Minor Ink Marks: For a fresh, light ink stain on finished leather, you might be surprised to learn that a simple white pencil eraser can work wonders. Just gently rub the mark with the eraser, being careful not to press too hard.
- Grease or Oil Stains: If you've had a run-in with a stray french fry, act fast! Sprinkle a generous amount of cornstarch directly onto the oil spot. Let it sit for several hours (or even overnight) to absorb the grease, then just gently brush it away.
- Water-Based Stains: Surprisingly, these are some of the most common issues. Industry experts estimate that water stains account for a whopping 65-70% of damage reported to leather cleaning services. You can sometimes remedy these by carefully re-hydrating the spot with a dampened cloth, allowing the leather to dry more evenly.
No matter the blemish, patience is your best friend. With a bit of care, you can maintain your bag's flawless look—an essential part of curating a classy style with designer-inspired handbags. And always, always test any spot treatment on a hidden area first, like inside a pocket or on the bottom of the bag.
Conditioning Your Leather for Lasting Softness
Cleaning your purse without following up with a good conditioner is one of the most common mistakes I see. It’s a bit like washing your hair and skipping the conditioner—sure, it's clean, but it's also stripped of its essential moisture. The exact same thing happens to leather. The cleaning process, while necessary, removes its natural oils, leaving it dry and thirsty.
Right after a good cleaning is when the leather’s pores are open and most ready to soak up hydration. If you skip this step, you’re inviting a stiff feel, premature cracking, and a dull, lifeless look down the road. Conditioning isn't just an extra step; it's the final touch that truly brings your bag back to life.
Choosing the Right Leather Conditioner
Not all conditioners are the same, and picking the right one is absolutely crucial for your purse's health. You'll find a ton of options out there, but you want to find a product made specifically for handbags or other fine leather goods. Steer clear of heavy-duty formulas designed for work boots or car interiors. They're often too greasy and can contain silicones or waxes that clog the leather's pores, preventing it from breathing.
Ideally, you should look for a cream or lotion-based formula. These are much easier to apply evenly and absorb beautifully without leaving behind a sticky residue.
- Cream-Based Conditioners: Fantastic for deep hydration and restoring that buttery softness.
- Lotion-Based Conditioners: A lighter option that’s perfect for more frequent, routine maintenance.
- What to Avoid: Stay away from products that list petroleum distillates or mineral oils as ingredients, as these can actually degrade the leather over time.
Expert Tip: Just like you did with the cleaner, always do a quick patch test with your new conditioner. Find a hidden spot on your bag to make sure it doesn't cause any discoloration on your specific type of leather.
The Correct Application Technique
Once you’ve got a quality conditioner, the application is simple but requires a gentle hand. Grab a fresh, clean microfiber cloth. You never want to reuse the one from cleaning, as it could still have traces of dirt or soap residue.
Put a small, dime-sized amount of conditioner onto the cloth, not directly onto the purse. This simple trick prevents you from accidentally drenching one spot.
Using gentle, circular motions, start working the conditioner into the leather. I like to start at the top and work my way down, making sure I get even coverage everywhere. Give a little extra love to the areas that get the most wear and tear, like the handles, straps, and corners. These spots tend to lose moisture faster and will thank you for the attention.
The goal here is to give the leather a light, nourishing drink, not to drown it. Using too much conditioner is actually counterproductive—it won't absorb properly and will just end up attracting more dust and dirt. A thin, even layer is all it takes to restore that supple texture and create a protective barrier.
After you're done, let the purse sit for at least a few hours—or even overnight if you can. This gives the conditioner time to fully penetrate the fibers. Once it has absorbed, take another clean, dry cloth and give the bag a final, gentle buff. This will bring out its beautiful, natural sheen and have it looking incredible.
Drying and Storing Your Handbag Correctly
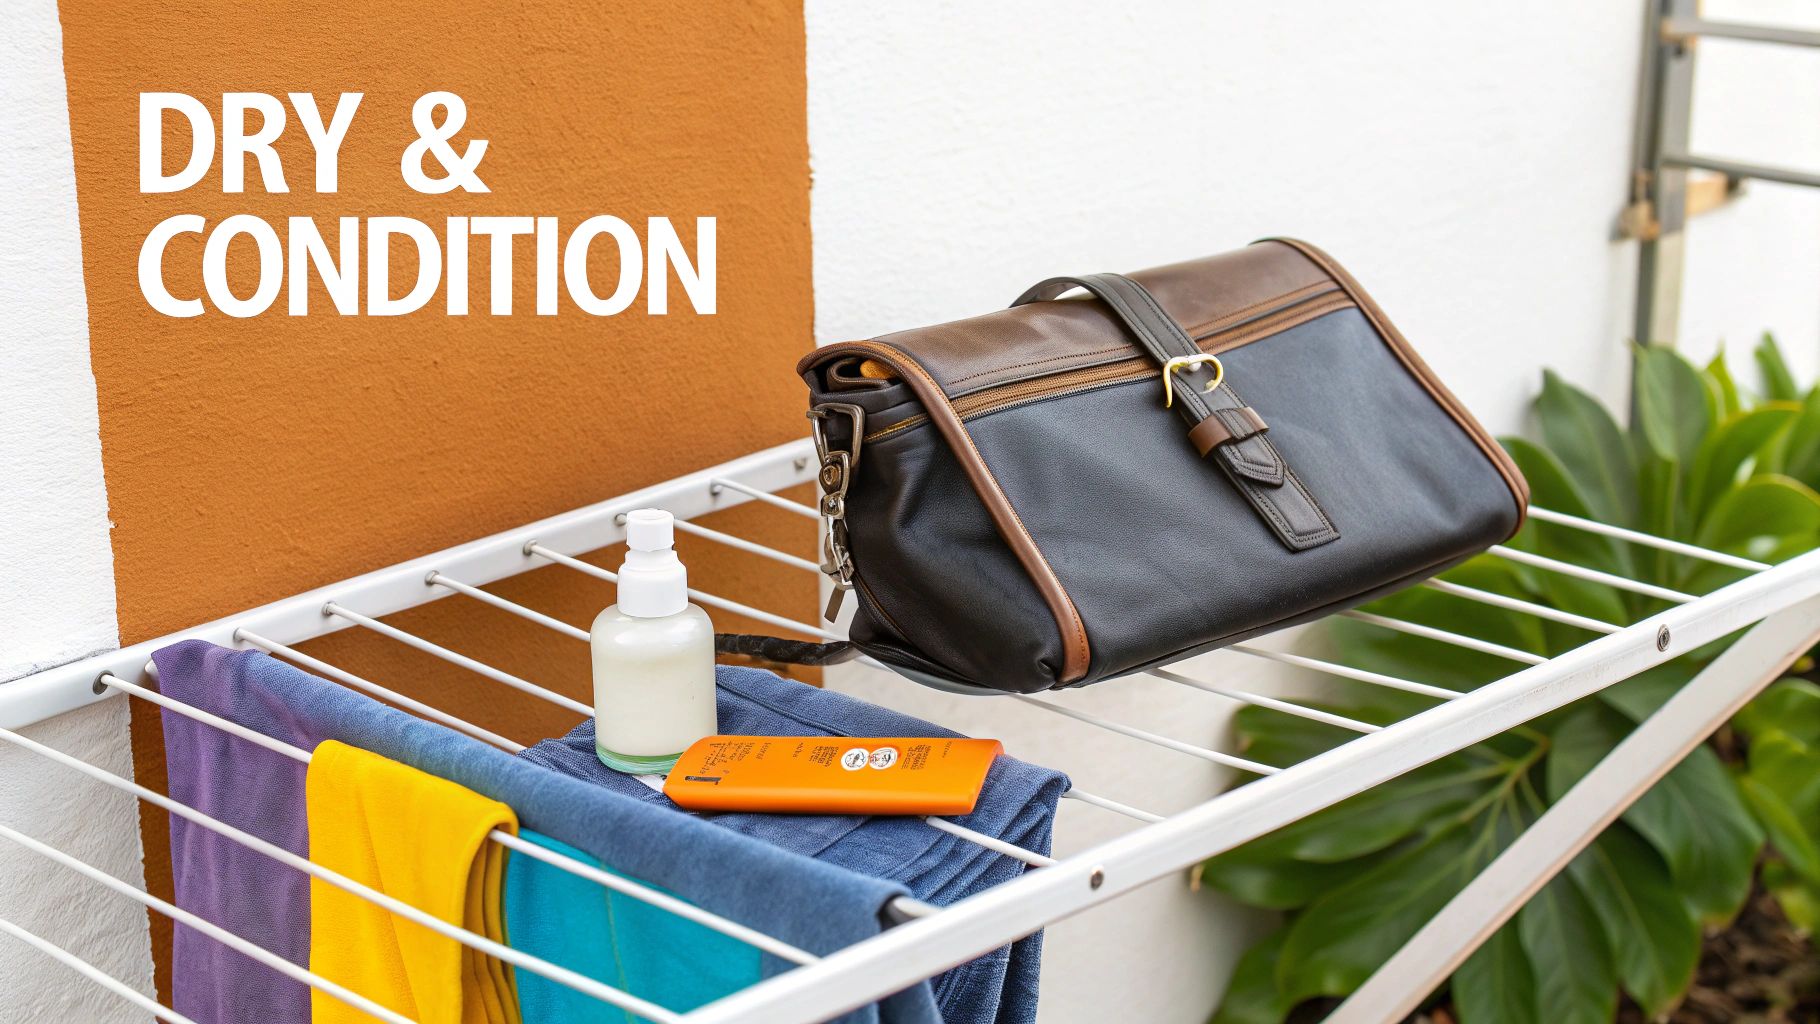
You’ve done all the careful work of cleaning and conditioning your bag, and it’s tempting to call it a day. But this final stage—how you dry and store your purse—is what locks in all that effort. If you rush this part, you could undo everything you just did, turning a beautifully restored bag into a stiff, damaged mess.
The absolute worst thing you can do is try to speed up the process with heat. Never, ever use a hairdryer or stick your purse near a radiator or in direct sunlight. Intense heat is the enemy of healthy leather, causing it to dry out, become brittle, and even crack.
Patience is your best friend here. The right way to do it is to let the bag air-dry naturally in a room with good ventilation. Just keep it away from direct heat and sun, and the leather will dry slowly and evenly, just the way it should.
Avoiding Common Drying Mistakes
Proper air-drying is all about creating the right environment. It's not complicated, but a few small details make a huge difference.
- Let it breathe: An open room with good airflow is perfect. Avoid stuffy closets or damp basements where moisture can hang around.
- Don't hang it up: It might seem like a good idea, but hanging a damp leather bag by its straps can cause them to stretch out and lose their shape.
- Give it time: Depending on the humidity in your home, it could take several hours or even a full day for the bag to feel completely dry.
Resisting the urge to speed-dry your purse is crucial. Avoiding prolonged direct sunlight statistically reduces color fading and material degradation by up to 25% over five years.
Taking care at this stage is a huge part of your bag's longevity. In fact, consistent maintenance can extend a leather purse's lifespan by three to five years. For a deeper dive, you can check out these insights on cleaning leather handbags from Jason Markk to see how the pros approach it.
Smart Storage for Long-Term Preservation
Once your handbag is completely dry, storing it the right way is what keeps it looking fabulous. Just tossing it into a pile in your closet is a surefire way to get scuffs, creases, and misshapen handles.
First, help the bag keep its shape. Stuff the inside with acid-free tissue paper or even a bundled-up soft t-shirt. This prevents the leather from sagging or developing ugly creases while it’s not in use.
Next, slip the purse into its original dust bag if you have it. If not, a soft cotton pillowcase works just as well. This little step protects it from dust and stops it from getting accidentally scratched by other items. Finding affordable luxury handbags in iconic styles is an investment, and habits like this are what protect it.
Finally, the best way to store your purse is sitting upright on a shelf. Hanging it by the handles for long stretches puts constant strain on the straps, which can cause them to stretch and weaken over time. Give it its own spot on a shelf, and it will stay in pristine condition, ready for you whenever you need it.
Got Questions About Cleaning Your Leather Purse? We've Got Answers
Even with a step-by-step guide, it's totally normal to have a few questions pop up. When you're working on a handbag you truly love, a little hesitation is a good thing! Let's clear up some of the most common questions we hear, so you can tackle those tricky situations with confidence.
Can I Just Use Vinegar or Baby Wipes?
I get this question all the time. It’s so tempting to reach for a quick fix you already have in the house, but the short answer is a hard no.
Vinegar is way too acidic for leather. Over time, it will strip the material of its natural oils and eat away at the finish, leaving your beautiful bag looking dull, dry, and brittle.
And baby wipes? They're another huge no-go. They might seem gentle, but they're packed with cleansers, alcohol, and other chemicals that are a nightmare for leather. These ingredients will dry out the material, often leading to discoloration and even cracking down the road. Always, always stick with a product made specifically for leather.
Key Takeaway: Please resist the urge to use household shortcuts! Products not designed for leather can cause permanent damage. A proper leather cleaner is your bag's best friend and the only truly safe choice.
How Often Should I Clean and Condition My Bag?
This really comes down to how much you use your purse. Just like a favorite pair of shoes, the more you wear it, the more TLC it's going to need.
- For your everyday bag: A quick wipe-down with a dry microfiber cloth once a week is a fantastic habit. It gets rid of surface dust and oils before they have a chance to settle in.
- For a deep clean: Plan on doing a full clean and condition every 6 to 12 months. This is what really restores moisture and keeps the leather feeling soft, supple, and protected from the elements.
- For special occasion bags: For those purses that only come out a few times a year, a thorough cleaning once a year is usually plenty to keep them in pristine condition.
Of course, these are just general guidelines. If you carry a lighter-colored bag—think cream, beige, or blush—you're going to spot dirt a lot faster and will probably need to clean it more often. And no matter what, you should always spot-clean spills the moment they happen.
Help! What Do I Do About a Water Stain?
A sudden downpour or a clumsy moment with a water glass can leave that dreaded dark spot on your bag. The most important thing is to act fast to stop that hard-edged ring from setting in for good.
First, grab a clean, dry cloth and gently blot the wet spot. You want to absorb as much of the moisture as you can. Whatever you do, don't rub! Rubbing just pushes the water deeper into the leather and can mess up the surface.
Next, take a different cloth and dampen it slightly with distilled water. Start at the center of the stain and blend the moisture outward toward the nearest seam, using light, feathery strokes. This little trick helps the whole panel dry more evenly, which is the secret to preventing a permanent water line. Then, just let the bag air-dry completely in a room with good circulation, far away from any direct sunlight or heat.
Does This Method Work for Suede or Nubuck?
This is a critical distinction, so I’m glad you asked. No, this cleaning method is only for finished, smooth leathers. Suede and nubuck are in a totally different league. They have that soft, velvety texture that would be ruined by water and traditional leather cleaners.
You'd end up with matting, weird discoloration, and water spots that are nearly impossible to get out. These delicate materials need their own special tools, like a suede brush and a special eraser designed to lift stains without water. Before you start cleaning, you absolutely have to know what kind of material you're working with. If you’re ever unsure, it’s always smartest to consult a professional.
At The Bag Icon, we believe that luxury should be accessible and long-lasting. By following these care tips, you can ensure your beautiful handbag remains a staple in your wardrobe for years to come. Explore our collection of affordable luxury handbags and find your next favorite accessory at https://www.thebagicon.com.


Comments